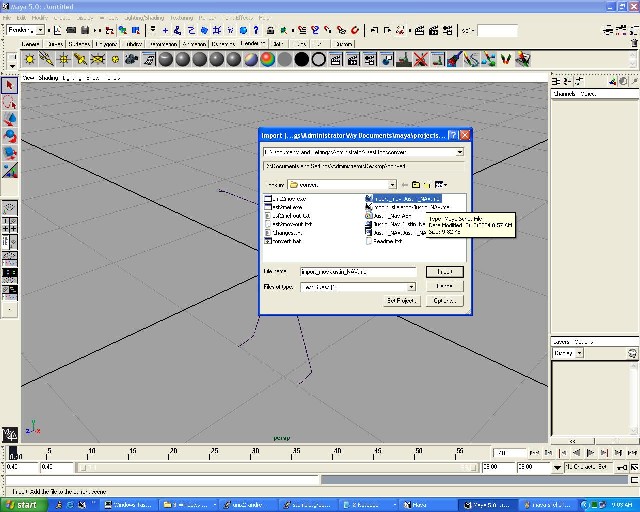
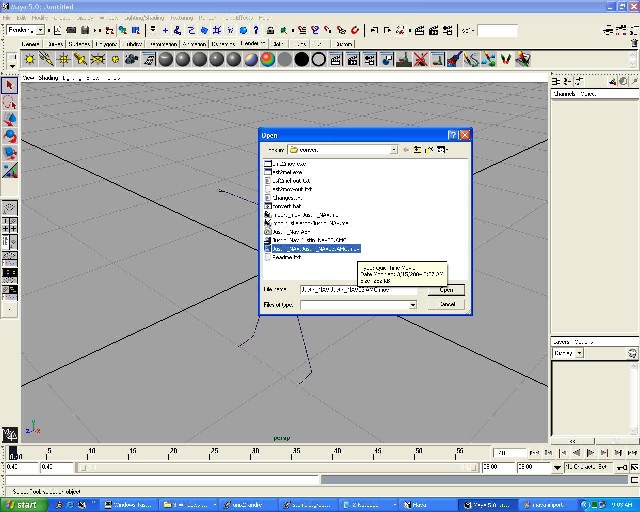
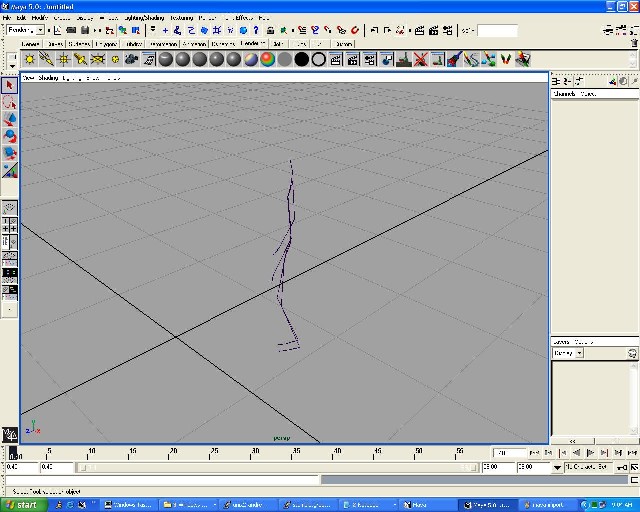
1.)Place amc2mov.exe and asf2mel.exe (by Biomechanics, Inc) into the folder with your ASF/AMC files.
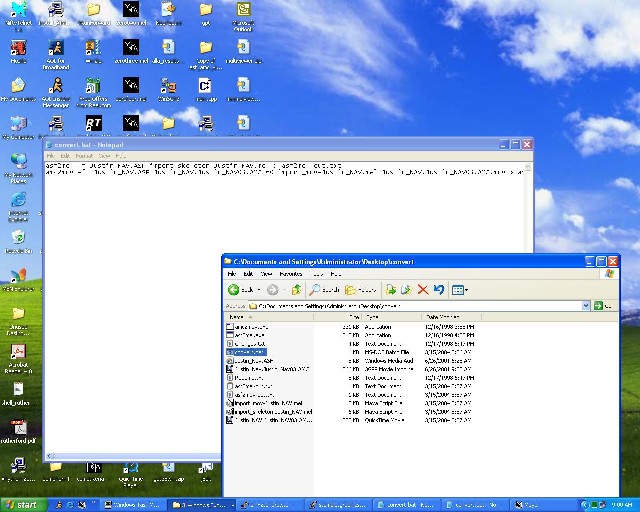
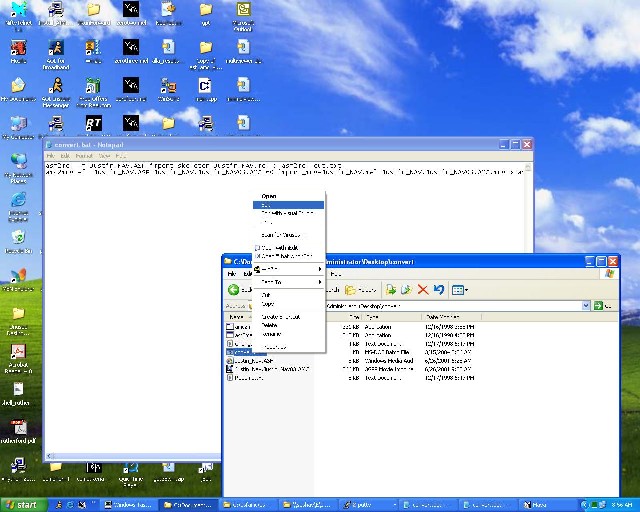
2.)Save this batch file into the directory, or make a batch (.bat) file in the directory with the following contents.
asf2mel -f asffile.ASF import_skeleton-asffile.mel > asf2mel-out.txt
amc2mov -f asffile.ASF amcfile.AMC 60 import_mov-asffile.mel amcfile.AMC.MOV > asf2mov-out.txt
3.)Select the .asf file, and shift-select an .amc. Drag the two files onto the icon of the batch file.
(Or edit your batch file and replace asffile with your ASF file's name and amcfile with your AMC file's name, as shown in the picture below. Double click to run).
(Common errors with hand-typed batch files include not escaping a space in a filename with a \ before it, and typing in the name incorrectly.
If you can't get a certain file name to be accepted, renaming the file to something simple is the easiest way to fix the problem.)
